Introduction
As a restaurant owner, your menu is your single most important sales asset. But if your online menu is still a flat PDF document, you are likely losing customers and organic search traffic every day.
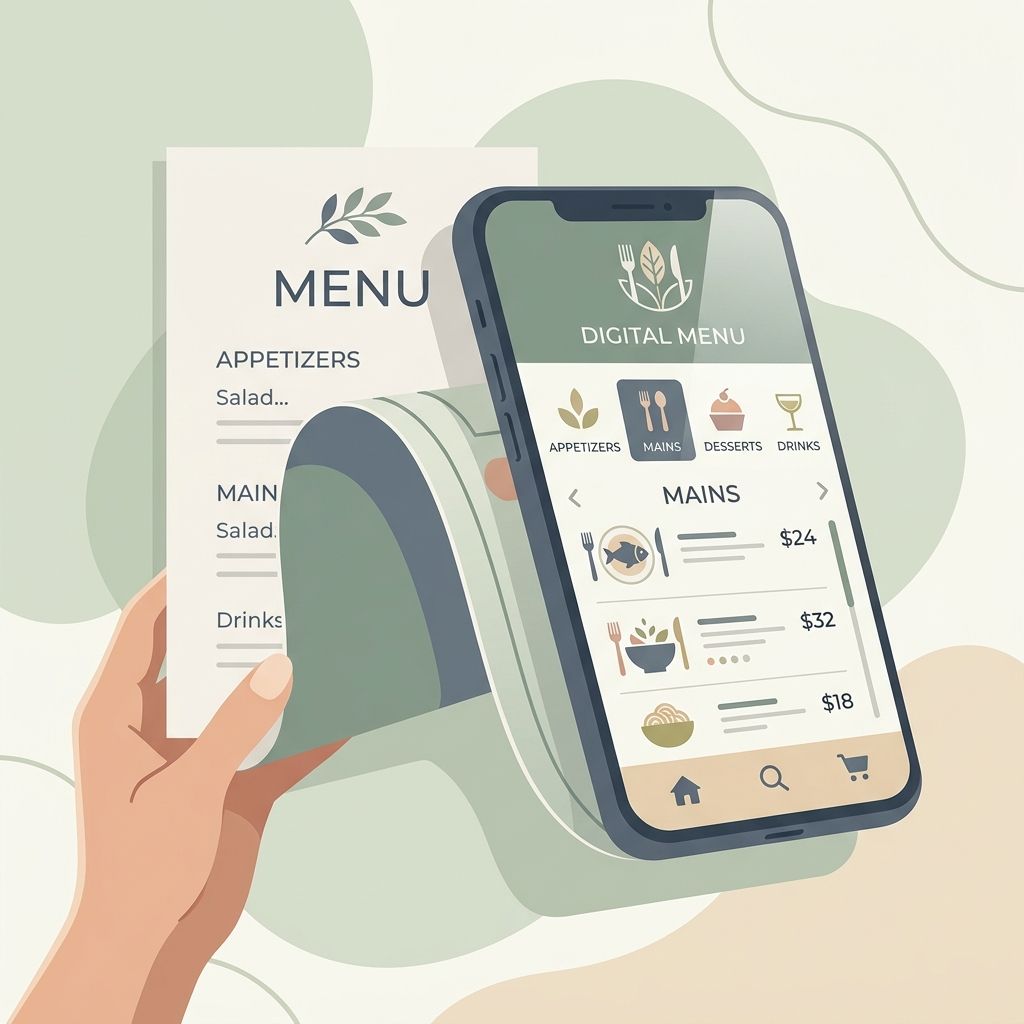
We’ve all been there: a customer lands on a restaurant's website, opens a PDF menu, and is forced to pinch, zoom, and scroll sideways just to read what's available. It is a slow, frustrating experience that often leads hungry diners to bounce and look elsewhere. Worse, Google cannot easily read or index the individual dishes inside a PDF, hiding your food from local search results.
Many operators stick with PDFs simply because they dread the setup. They don't want to spend hours manually typing out hundreds of items, descriptions, and prices.
Fortunately, you don't have to start from scratch. Moving to a fully responsive, search-friendly mobile restaurant menu is much easier than it looks. Here is a step-by-step guide on how to convert your PDF menu to a modern, branded HTML storefront in minutes.
---
1. Why HTML Menus Outperform PDFs
Before making the transition, it helps to understand why search engines and customers prefer HTML (web page) menus over static PDF documents:
* Instant Load Times: Mobile menus hosted on a modern digital restaurant menu platform are optimized for speed, loading in a fraction of a second—even on spotty cell service.
* Readable, Responsive Design: Text and imagery automatically resize to fit any screen perfectly. No zooming required.
* Search Engine Visibility: Google’s bots can scan and index every single ingredient, allergen tag, and price on an HTML page. This allows your signature dishes to appear in local search results and conversational AI searches.
* Tableside Safety & QR Integration: Guests can easily scan a QR code at the table and view a beautiful interface complete with filters and assistants, which static PDFs simply cannot support.
---
2. Step 1: The Automated PDF Import (No Manual Typing)
The biggest barrier to upgrading your menu is the time investment. If you have a large menu with multiple categories, sections, and customization options, rewriting it from scratch is daunting.
To bypass this manual work, choose restaurant menu management software that offers automated PDF importing.
Using MenuClips, the transition is seamless:
1. Drag and drop your existing PDF menu into the dashboard.
2. The importer scans and parses the document, automatically extracting categories, items, descriptions, and prices.
3. Your menu is instantly converted into structured HTML content, ready for styling.
What used to take hours of tedious data entry is accomplished in a few clicks, preserving your exact menu structure without starting from a blank page.
---
3. Step 2: Choosing and Customizing Your Template
Once your menu is in an HTML format, you can customize its presentation to match your restaurant’s physical identity. A high-quality digital presence shouldn’t feel like a generic SaaS list—it should feel like an extension of your dining room.
* Match Your Vibe: Select from professionally designed templates tailored for cafes, fine dining, lounges, or bakeries. A cozy cafe might choose a warm, minimalist layout, while an upscale bistro can opt for an elegant dark mode theme.
* Branding Customization: Upload your logo, choose brand colors, and pick typography pairings. All of these settings are applied globally across your digital menu.
* Featured Items: Showcase your highest-margin dishes or daily specials at the top of the menu with beautiful, vibrant photos.
---
4. Step 3: Setting Up a Branded Subdomain
To make your new HTML menu easy for customers to find, host it on a direct, professional web address.
Instead of routing traffic to a complicated URL or an aggregator marketplace (where customers are distracted by competitors), publish your menu on a clean restaurant subdomain (e.g., `yourbrand.menuclips.com`) or map it to a custom domain.
A dedicated, branded link is short, professional, and easy to share on your Instagram bio, WhatsApp replies, Google Business Profile, and print marketing materials.
---
5. Step 4: Connecting the Tableside QR Codes
Now that your HTML storefront is live, link your physical dining space to your new digital presence.
Generate and print unique, branded QR codes for each table. When a guest scans the code, they don't just see a static menu list. They gain access to:
* Dietary and Allergen Filters: Diners can instantly filter the menu to show only gluten-free, vegan, or vegetarian options.
* AI Menu Assistant: An interactive, conversational assistant (powered by Google Gemini) that answers questions like *"What is your spiciest dish?"* or *"What pairs well with the pasta?"* using your actual menu data.
This interactive experience frees up your servers, speeds up table turn times, and drives higher order values through personalized, tableside discovery.
---
Make the Switch Today
Your digital menu is the modern front door to your restaurant. Keeping it locked behind a static PDF hurts your customer experience and hides your dishes from search engines.
With MenuClips, you can move from a flat PDF to a branded, mobile-first restaurant digital storefront in minutes—with zero coding or technical skills required.
Ditch the pinch-and-zoom today and give your guests the premium digital experience they expect.